Veteran aurora chasers agree that most ruined Northern Lights photos come down to one critical mistake: relying on autofocus in the dark. This in-depth guide reveals why that error destroys night sky images, how it affects aurora photography, and what professionals do instead. Backed by real-world experience and practical advice, this article shows how to capture auroras the right way—before the moment disappears.
Why So Many Aurora Photos Fail—Even on Incredible Nights
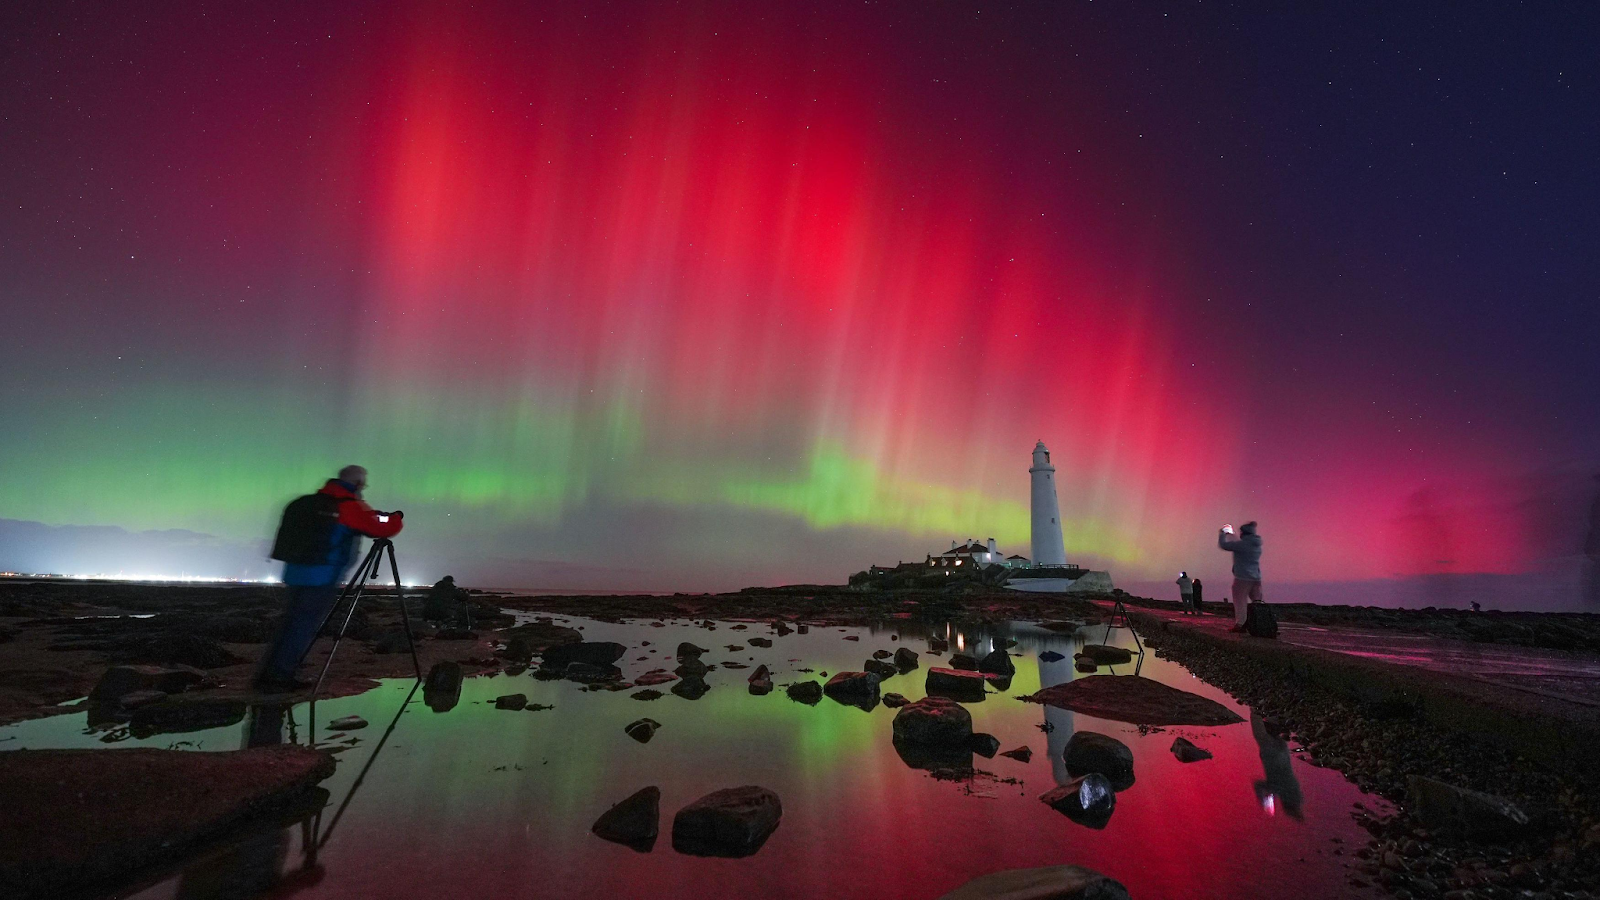
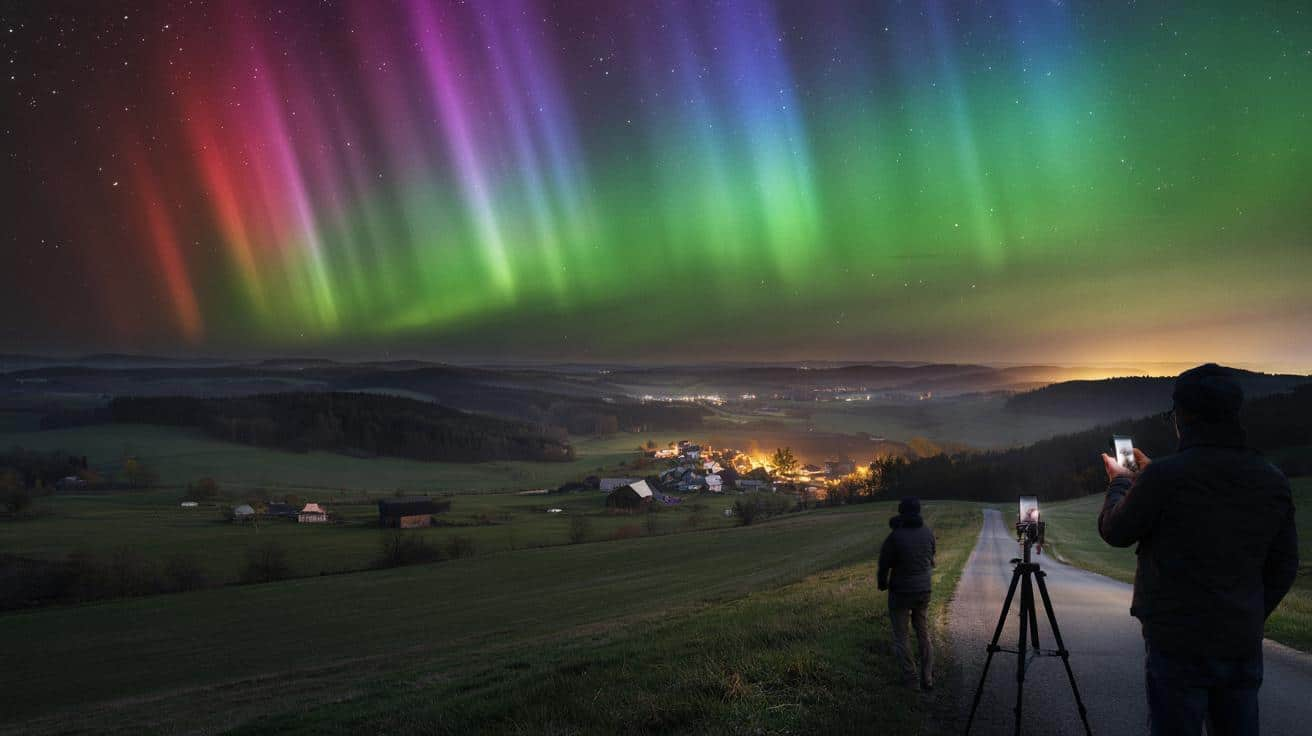
If you’ve ever stood beneath an active aurora, you know how surreal it feels. The sky ripples. Curtains of green light stretch from horizon to horizon. Purple and red accents flicker like electricity overhead. Your heart races as you lift your camera, convinced you’re about to capture something unforgettable.
And then you look at the image.
The colors are dull. The stars look smeared. The entire frame feels soft and lifeless compared to what you just witnessed.
According to experienced aurora chasers, this disappointment is one of the most common—and painful—experiences in night sky photography. It happens to first-timers and seasoned photographers alike. And in most cases, it has nothing to do with bad luck, poor timing, or expensive gear.
It comes down to one small setting that quietly sabotages the entire shot.
The One Mistake Aurora Chasers Say Ruins More Photos Than Anything Else
After years of chasing auroras across Alaska, northern Minnesota, Canada, Iceland, and Scandinavia, veteran photographers are nearly unanimous on this point:
Leaving autofocus turned on is the single biggest mistake that ruins night sky and aurora photos.
Autofocus is brilliant in daylight. It’s fast, accurate, and reliable when there’s plenty of contrast and light. But at night—especially during aurora displays—it becomes dangerously unreliable.
Auroras move constantly. They change brightness, shape, and intensity from second to second. To a camera’s autofocus system, this is chaos. The result is a focus point that’s slightly off—sometimes by just a fraction—but enough to destroy image sharpness.
And once focus is wrong, no amount of editing can fix it.
Why Autofocus Fails So Badly at Night
To understand why this mistake is so destructive, it helps to know how autofocus actually works.
Modern autofocus systems depend on:
- Strong contrast between light and dark areas
- Defined edges or patterns
- Stable, well-lit subjects
At night, especially during aurora events:
- Contrast is extremely low
- Light sources are faint and moving
- The sky lacks fixed reference points
Auroras don’t behave like buildings, faces, or landscapes. They shimmer and pulse unpredictably. Your camera tries to lock focus, fails to find a clear edge, and then guesses.
That guess is usually wrong.
Aurora chasers often say:
“If your stars aren’t razor-sharp, the photo is already ruined—no matter how bright the aurora was.”
A Real-Life Story: One Setting That Ruined an Entire Night
A photographer from northern Minnesota shared a story that many aurora chasers recognize instantly.
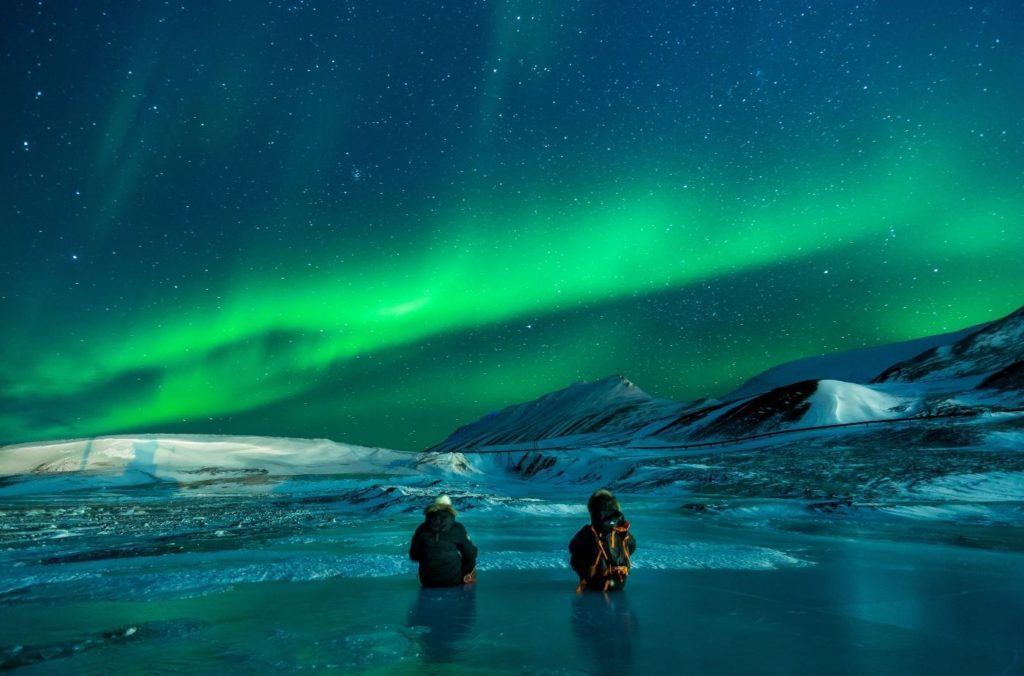
After tracking space-weather forecasts for weeks, he finally drove three hours into the Boundary Waters Canoe Area Wilderness during a rare G5 geomagnetic storm. The aurora exploded across the sky—green arcs overhead, purple streaks to the north, reflections dancing on frozen lakes.
He shot hundreds of images.
When he got home and reviewed them, his excitement collapsed.
Every single frame was soft.
What went wrong?
- Autofocus was still enabled
- The camera locked onto a distant treeline instead of infinity
- Stars were never truly sharp
The aurora was historic.
The photos were unusable.
That night taught him a lesson he never forgot.
Why Even Experienced Photographers Make This Mistake
This error isn’t limited to beginners.
Experienced photographers fall into this trap because:
- Autofocus works perfectly during the day
- Cameras default to autofocus
- Aurora displays appear suddenly, creating pressure
- Excitement leads to rushed setups
When the sky suddenly ignites, people panic. They forget to check focus mode. They trust the camera. And by the time they notice the issue, the aurora has shifted or faded.
Aurora chasers often say:
“You might only get one good burst per night. If focus is wrong, there’s no second chance.”
The Correct Way to Focus for Aurora and Night Sky Photography
The solution is simple—but it must be intentional.
The Golden Rule of Night Sky Photography
Always use manual focus.
Here’s how experienced aurora chasers do it:
- Switch your lens to manual focus
- Set focus close to infinity
- Use live view and zoom in digitally on a bright star
- Slowly adjust focus until the star becomes a sharp pinpoint
- Lock that focus and do not touch it again
Many professionals go one step further and tape the focus ring to prevent accidental movement.
Why Sharp Stars Matter More Than Bright Auroras
A common misconception is that auroras are the main subject, so focus precision isn’t as critical.
Experienced chasers strongly disagree.
They evaluate image quality based on:
- Star sharpness
- Foreground clarity
- Aurora texture and structure
Soft stars instantly make a photo feel amateur—even if the aurora itself was intense. Sharp stars provide scale, depth, and realism.
In aurora photography, stars are your focus reference—not the aurora.
Other Common Aurora Photography Mistakes (But None as Fatal)
While autofocus is the biggest offender, aurora chasers warn about other mistakes that can compound the damage.
Common Errors That Hurt Night Sky Photos
- Shutter speeds that are too long
- Excessively high ISO settings
- Overexposing bright auroras
- Not using a tripod
- Touching the camera during exposure
All of these issues can be corrected if focus is correct.
If focus is wrong, the image is beyond saving.
How Long Exposures Magnify Focus Errors
Aurora photography often requires exposures between 1 and 10 seconds, depending on brightness and motion.
Long exposures:
- Exaggerate even slight misfocus
- Turn stars into blobs or streaks
- Smear fine aurora details
That’s why professionals obsess over focus before adjusting anything else.
Why Smartphones Sometimes Seem to Do Better
This surprises many photographers.
Smartphones often produce cleaner-looking aurora shots than beginner DSLR setups—not because they’re better cameras, but because they hide focus errors.
Phones rely on:
- Fixed or limited focus ranges
- Computational sharpening
- Image stacking
This masks focus inaccuracies. However, phones sacrifice true detail, dynamic range, and realism. Dedicated cameras still outperform phones—but only when focused correctly.
When You Should Recheck Focus During the Night
Another overlooked mistake is setting focus once and never checking it again.
Aurora chasers recommend:
- Checking focus at the start of the night
- Rechecking every 30–60 minutes
- Rechecking after major temperature drops
- Rechecking if the lens is bumped
Cold temperatures can subtly shift lens elements, especially in winter aurora environments.
The Emotional Cost of Getting It Wrong
Aurora chasing isn’t casual photography.
People:
- Drive hours into remote locations
- Stand in freezing temperatures
- Lose sleep
- Miss work the next day
When photos fail because of a simple focus error, the disappointment is intense. Many chasers describe it as “watching magic slip through your fingers.”
That’s why this mistake is discussed so passionately within the aurora community.
A Simple, Reliable Aurora Photography Setup
You don’t need the most expensive gear—but you do need discipline.
A Proven Beginner-Friendly Setup
- Sturdy tripod (essential)
- Wide-angle lens (14–24mm preferred)
- Manual focus set correctly
- Aperture between f/2 and f/2.8
- ISO 800–3200 (adjust as needed)
- Shutter speed 1–5 seconds for active auroras
These settings can change. Focus should not.
Why Experienced Aurora Chasers Tape Their Lenses
If you’ve ever seen a photographer with tape on their lens, now you know why.
Taping the focus ring:
- Prevents accidental bumps
- Stops focus drift
- Eliminates panic during peak activity
It’s a small habit that saves entire nights of work.
How Aurora Motion Tricks Your Eyes
Auroras move constantly. That movement can fool you into thinking focus is correct when it isn’t.
Professionals rely on:
- Stars, not auroras, for focus checks
- Zoomed-in playback on the camera screen
- Test shots before peak activity
They never trust first impressions.
Does This Same Mistake Ruin Milky Way Photos?
Yes—absolutely.
The same autofocus mistake ruins:
- Milky Way photography
- Meteor shower shots
- Star trails
- Planetary images
That’s why mastering manual focus is foundational to all night sky photography—not just auroras.
Why This Advice Comes From Experience, Not Theory
This guidance doesn’t come from manuals or marketing brochures.
It comes from:
- Astrophotographers with decades of field experience
- Park rangers who photograph auroras nightly
- Scientists documenting space-weather events
- Hobbyists who failed, learned, and improved
Across forums, workshops, and interviews, the same warning appears again and again.
Frequently Asked Questions (Trending Searches)
1. What is the biggest mistake in aurora photography?
Leaving autofocus turned on.
2. Should I ever use autofocus at night?
No. Manual focus is essential for night skies.
3. How do I focus on the Northern Lights?
Focus manually on a bright star near infinity.
4. Why are my aurora photos blurry?
Slight misfocus, long exposure, or camera movement.
5. Are smartphones better for aurora photography?
They hide focus errors but lack true detail.
6. What ISO is best for auroras?
Typically ISO 800–3200, depending on brightness.
7. How long should my shutter speed be?
1–5 seconds for active auroras; longer for faint ones.
8. Do I need expensive gear to shoot auroras?
No. Proper focus matters more than gear.
9. Why do professionals tape their focus rings?
To prevent accidental focus changes.
10. Can focus errors be fixed in editing?
No. Focus errors are permanent.
Final Takeaway: The Difference Between Regret and Results
Auroras are unpredictable.
Opportunities are rare.
Moments vanish quickly.
According to experienced aurora chasers, the difference between a photo you cherish and one you delete often comes down to one simple decision.
Turn off autofocus.
Set manual focus carefully.
Lock it in.
Because when the sky erupts in color, you won’t get a second chance.